Looking to master Grounded 2 and survive the backyard chaos? You’re in the right place. Grounded 2 guide covers everything you need to get started — from unlocking essential crafting stations to finding rare resources like Milkweed Tufts. Whether you’re a returning player or a total newcomer, here’s how to stay alive, build smarter, and thrive in Grounded 2.
Table of Contents
How to Unlock the Workbench Recipe in Grounded 2
The workbench is a crucial crafting station that unlocks advanced gear, tools, and upgrades. But unlike in the first game, it’s not immediately available in Grounded 2.
Here’s how to get it
- Find the Field Station in the Oak Tree area.
Explore the map until you reach the Field Station near the large oak tree. Inside, you’ll find an analyzer. - Analyze the right resources.
Scan the following to trigger the workbench recipe:
- Sprigs
- Grass Planks
- Sap
Once scanned, the workbench blueprint will unlock in your crafting menu. Gather the materials and build it to start upgrading your gear!
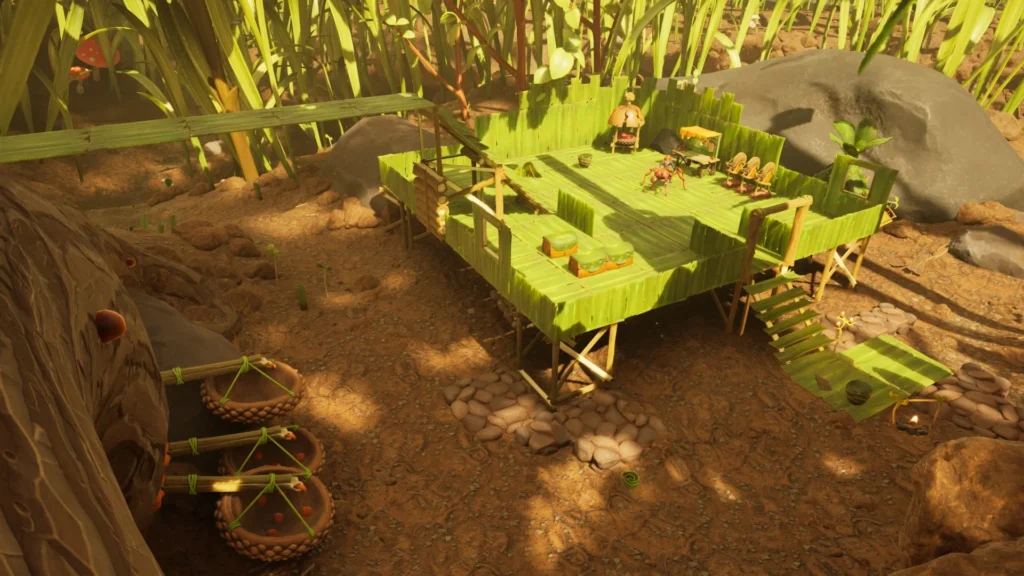
Where to Find Milkweed Tufts in Grounded 2
Milkweed Tufts are one of the rare crafting ingredients you’ll need for high-level recipes — especially armor and tools.
Best locations to farm Milkweed Tufts
- Near the Swamp Zone
Look for tall purple-flowered plants growing around moist areas. Milkweed often spawns near water puddles. - Behind the Sandbox
This high-level area hides clusters of Milkweed among dense weeds. Bring armor and be ready for trouble!
Pro tip
Use a Tier 2 axe to harvest more efficiently. Milkweed Tufts are fragile and disappear quickly if not collected properly.
How to Unlock New Recipes in Grounded 2
Beyond the workbench, many crafting recipes in Grounded 2 require exploration, analysis, and sometimes just a bit of luck.
Tips to unlock more recipes
- Analyze everything. Each new bug part or plant you find should be scanned at a Field Station.
- Defeat tougher insects. Bugs like Stinkbugs, Bombardier Beetles, and Mosquitoes drop unique parts that unlock essential gear.
- Check BURG.L’s chip quests. Completing chip side quests can reward rare blueprints like zipline anchors, gliders, or upgraded armor sets.
Grounded 2 Guide: Top Early-Game Tools to Craft
Struggling to stay alive your first few days? Focus on crafting these tools ASAP:
| Tool | Use | How to Get It |
| Pebblet Axe | Cut grass, fight mites | 3 Pebblets, 1 Sprig, 1 Crude Rope |
| Pebblet Hammer | Break quartzite, access hidden loot | 3 Pebblets, 4 Sprigs, 1 Rope |
| Torch | Explore at night | 2 Sap, 2 Plant Fiber, 1 Sprig |
How to Fight Smarter – Not Harder
Combat in Grounded 2 can be brutal if you’re unprepared. Here’s how to improve your odds:
- Block and parry: Timing is key. Practice blocking to reduce damage and open bugs up for counterattacks.
- Use armor sets: Even basic armor reduces damage significantly. Prioritize collecting Grub Hide, Ant Parts, and Mite Fuzz early on.
- Craft bandages: Keep a few Fiber Bandages on hand at all times. They’re cheap and can save you mid-fight.

Building Tips for a Strong Base
Building a safe and functional base is essential to long-term survival.
Best base locations:
- High rock ledges to avoid insect raids
- Near water sources for easy hydration
- Close to Field Stations to analyze items quickly
Use Grass Walls, Acorn Ladders, and Clover Roofs to start — then upgrade later with Mushroom Bricks and Sturdy Stems.
Final Tips for Thriving in Grounded 2
- Inventory Management: Don’t hoard junk. Craft storage baskets and organize by item type.
- Watch the weather: Rain reduces visibility and brings out certain bugs.
- Team up: Playing co-op makes battles and base-building way easier — and more fun.
Need help with a specific bug or biome? Let us know, and we’ll expand the Grounded 2 guide with deeper survival tips and build recommendations.